Showing posts with label Photos. Show all posts

Saturday, September 24, 2011

Preparing for Xbee practical test for distributed embedded systems

Arduino Fio(x4), Arduino Mega(x1), Arduino Ethernet shield(x1), Xbee modules(x5), Xbee shileld(x1), Xbee Explorer(x1)

Friday, August 5, 2011

Climbing patterns

Fast climbing with degrees from 0 - 360 degrees

Slow climbing with either upwards and downwards, or right and left

The combination of these two types of climbing can give a combination of very fast climbing plus precise climbing when needed. Also fast climbing method gives robot the chance to move to directions from 0 - 360 degrees.

Friday, March 18, 2011

New calculations for positioning

Update : 06:01, 18.03.201, I am almost done with the C code on Arduino ... Too sleepy, going back home now ...
I should write a program that can simulate the workspace as I have no idea what are the valid points on workspace that are reachable by the feet.
----------------------
New calculations for positioning, the whole thing could not be easier than this ...


Thursday, January 20, 2011

Zero positioning, new ideas

Lately I have been working on mounting an Open Source 3D printer called RepRap(Version 1.0, Darwin). While working on it, I learnt about their brilliant idea for Zero Positioning. They use a tiny beam light sensor(Opto endstop V2.1) which is interrupted by a small stick which is connected to the moving joint. The interrupted state defines that the moving joint is in the zero position.

Picture from : RepRap Blog

Friday, January 7, 2011

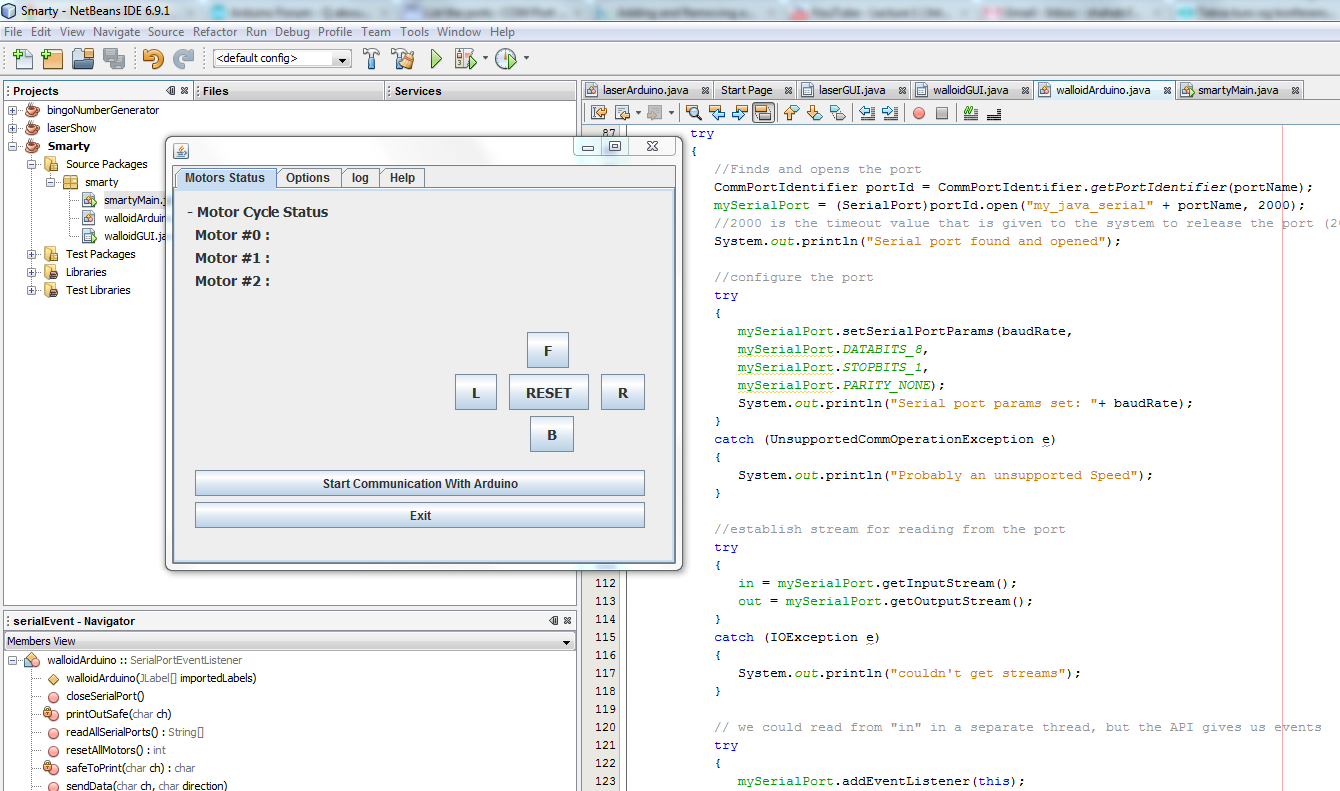
Robot foot Control Panel(in Java) for the robot feet, version 0.01

This is the first snapshot of a GUI for the Robot foot Control Panel in Java that I am designing right now. I do not have much trouble with it and it looks promissing :-) Updates of the code and more snapshots come soon ...

Wednesday, November 17, 2010

Climbing robot, brain storming

This project is an ongoing rapid prototype which is under development by Puya Afsharian & me …
Requirements :
4 x step motor
4 x El. Magnet
1 x Arduino
1 x Thin Aluminium plate
Components :
Magnet #1
Magnet #2
Magnet #3
Motor #1-1
Motor #1-2
Motor #2-1
Motor #2-2
Algorithm & states :
  • Initial state :
    Mag. 1,2,3 -> ON
    Motor 11,12,21,22 -> OFF
  • Lift state :
    Mag3 -> OFF
    Mag 1,2 -> ON
    Motor 12, 22 -> CCW ON
    Mag3 -> ON
  • Move Up Right state :
    Mag2 -> OFF
    Motor 11 CW ON MAX
    Motor 12  CW ON -> Vertical(Parallel with chassis)
    Mag 2 -> ON
  • Move Up Left state :
    Mag1 -> OFF
    Motor 21 CW ON MAX
    Motor 12  CW ON -> Vertical(Parallel with chassis)
    Mag 1 -> ON
and again to Lift state

Sunday, September 5, 2010

New foot design details

I have received these along with the foot from my supervisor Mats Høvin.
Actuator Design
Encoders mounted on Motor jacket
 Arudino + Motor drivers
Encoder
Source of all details is www.robotikk.com